CentOS 5.1: Flashed
PCs = Noise. No matter how you stack things up, it seems there is always something clicking, buzzing, humming, or whooshing in your ear. Whether it is the fans keeping the system cool, the hard drive grinding away, or even the clicking of the keys and mouse, noise is ever present. While there are many guides about reducing fan noise and how to best dampen hard drive grinding, there are not many that discuss the "no hard drive" option. Today we are going to explore that avenue by using CentOS 5.1 and a compact flash card.
Hardware
Hardware
For
some time now, I’ve wrestled with how to run my MythTV client frontend
without needing a hard drive. After spending some time wrestling with
various network boot techniques it became obvious that my time was not
worth all this effort. Then it dawned on me to give flash drives a
try. Large capacity solid state drives are currently quite expensive,
but because I only needed to store the OS I could get away with a small
compact flash card.
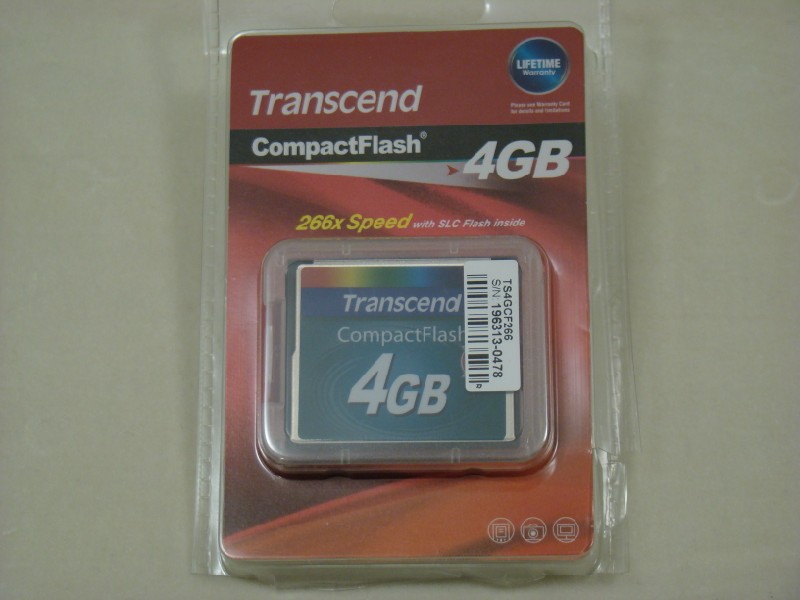 |
| 4GB 266x Speed Compact Flash |
After searching various reviews on NewEgg, it became clear that there were mixed feelings regarding compact flash performance. It nearly all stemmed from using an IDE adapter to interface with the flash drives. Compact flash by its nature is designed to communicate via an IDE interface, so most IDE adapters are very simplistic. However, to get the faster performance from the higher speed flash drives, one needs to find an adapter that supports DMA transfers. Most, it seems, do not support this feature while others are buggy.
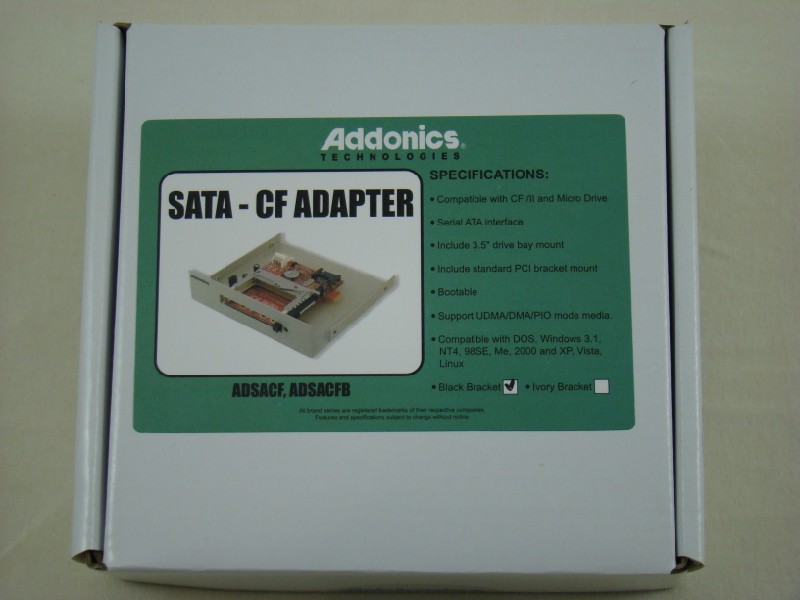
Switching gears, I pursued another course. What about SATA adapters? Surely there has to be a SATA based solution. NewEgg was practically mute on this topic however. A few Google searches later and I found the SATA-CF adapter from Addonics.
 |
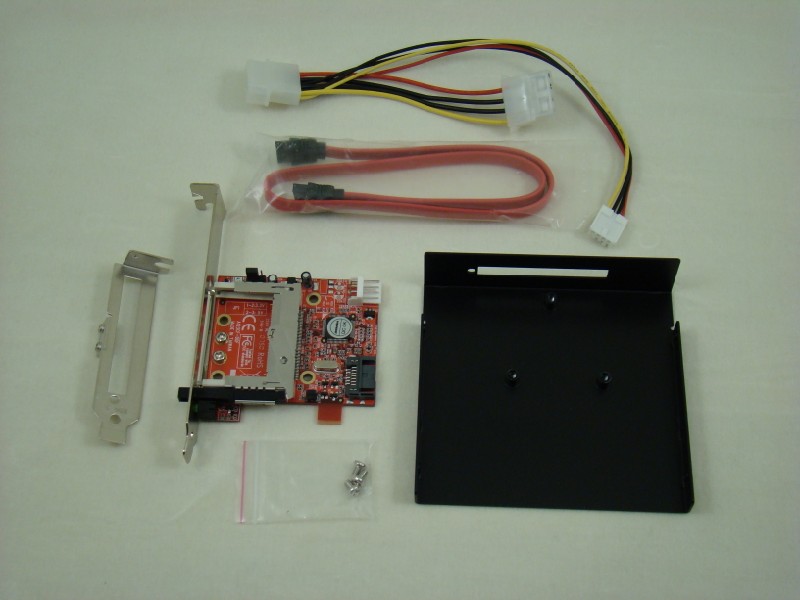 |
| SATA Adapter Boxed | SATA Adapter Unboxed |
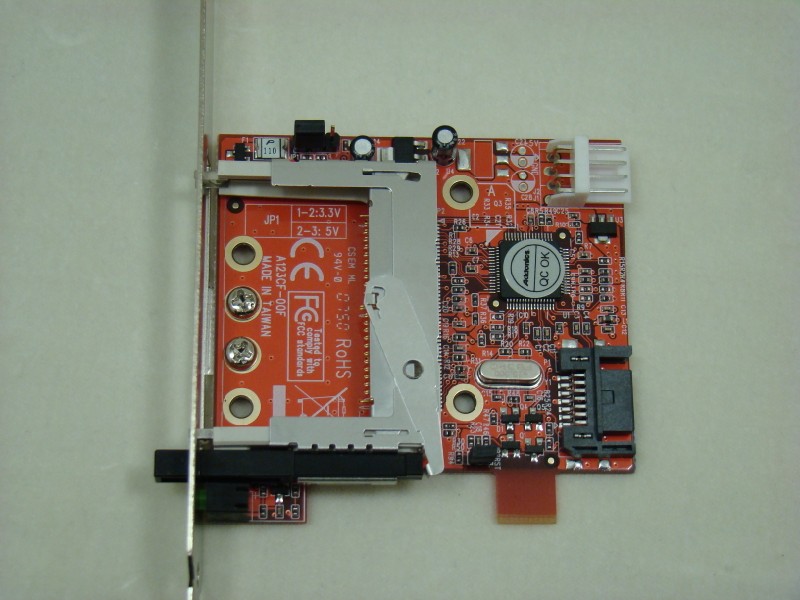
The adapter comes with a 3.5" plate for mounting in a drive bay. It also offers a full and low profile backplane brackets if the user wishes to have access to the card from the rear of the case. A 5.25" to 3.5" style power splitter is provided along with a SATA data cable.
 |
 |
| Adapter On Low-Profile Bracket | Adapter With Flash Inserted |
The card is held in place firmly, so there is little chance of it vibrating out of place. The eject mechanism operates smoothly with the press of a button. Once inserted, the card is mostly hidden from view which should help protect it from damage.
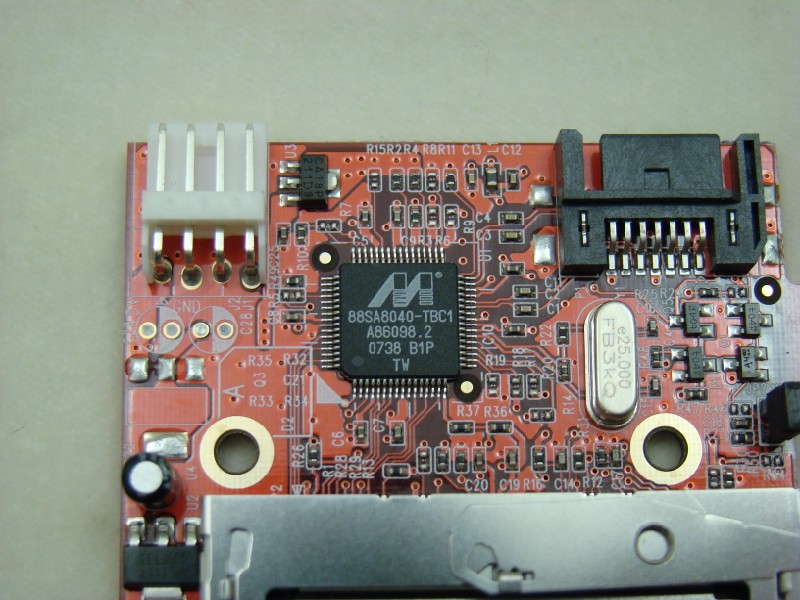 |
| Marvell 88SA8040 Controller |
The adapter supports hot-plugging if the motherboard SATA controller allows it. Best of all, because this adapter is based on the Marvell 88SA8040 PATA to SATA bridge controller, it supports DMA and ultra DMA modes which should be able to keep up with any flash card.
Total hardware cost for the adapter and flash card was just shy of $100. I opted to go for the 4 GB flash card, so that pushed the price up. Following the CentOS 5.1: Stripped Install Guide, it is possible to run with a much less expensive 2 GB flash module which would knock $30 off the price.
As is usually the story, hardware is only half of the project. Because flash devices can survive only a finite number of write cycles, we need to adjust the OS so we don’t write any more than necessary.
Software Mods
Swap Space
While this install is focused on the Linux OS, many of the issues discussed here will apply to those using Windows. The whole goal here is to limit writes to the flash card. One of the greatest offenders is the swap partition. If you were following the CentOS 5.1 stripped install guide, then you probably didn’t create a swap partition. If you have created one, then we are going to need to disable it. Before we proceed, ensure there is a sufficient quantity of RAM in the system. I have run systems on 512MB without a swap region, but I wouldn’t recommend it. 1GB of RAM should be enough for just about any application. Let’s get on with disabling that swap space. As root at a command prompt, type:
swapon -s
This will list the swap areas that are currently available on the system. If this command doesn’t return anything, then you are currently "swapless" and can move on to the next section. If this does return something, take note of the "Filename" column which should be listed first. Next, we are going to shutdown the swap region. Again, as root, type:
swapoff -a
This will temporarily disable your swap file. However, upon reboot it will be active again, so let’s make this change permanent. We are going to edit the file which controls how file systems are mounted during the boot process. It may look a little confusing, but just stay with me on this. To edit this file, we are going to use our trusty text mode editor "nano".
nano -w /etc/fstab
Scan down through the file. You will be looking for a line that looks like the following:
/dev/sda2 none swap sw 0 0
Yours however will have the filename that you saw after running the "swapon" command above. All that we need to do is put a "#" in front of that line to comment it out. Exit nano by pressing <control>-X. Press "Y" to accept the changes and <enter> to accept the filename. Congratulations, you have completely disabled the swap file.
File/Dir Access Time Stamps
This particular "feature" of Linux has long been debate. By default, Linux will do a write to update a time stamp each time a file or directory is accessed. As can probably be imagined, this really slows down reads from the hard drive. In our case, it racks up write cycles very quickly. Whether you are planning to use a flash drive or if you are sticking with a standard hard drive, you are going to want to do this mod.
We are going to want to modify the /etc/fstab file in order to enact these changes. So, as root, type:
nano -w /etc/fstab
We are going to want to look for a line that looks somewhat like the following:
LABEL=/ / ext3 defaults 1 1
This line defines how the root (defined by "/") partition is mounted. We are going to want to add "noatime,nodiratime" right after "defaults" so it looks like this:
LABEL=/ / ext3 defaults,noatime,nodiratime 1 1
Exit nano saving the changes and reboot the PC. Upon the next boot up, your root partition will be mounted with these new options.
EXT3 Vs The EXT2 File System
One of the advances in modern file systems is the concept of the journal. Due to write caching, a file is rarely written immediately to the hard drive. Usually, the writes are held in a cache until the most opportune moment. If the system were to lose power before a cache could be flushed to disk, then there is a high probability of file corruption. Upon reboot, the file system needs to be checked to clean up an lost clusters or other issues. Modern file systems employ a journal which keeps track of file operations. If power is lost during a write, the journal will allow the file system to recover gracefully upon reboot.
Typically, this process works just fine, but in this case it is another source of writes to the flash drive which can be avoided. One thing that does work in our favor is the backwards compatibility of EXT3 (journaled file system) to be mounted as EXT2 (non-journal file system. Because a non-journaling file system is only susceptible to power loss, I would recommend purchasing some form of uninterruptable power supply for your PC.
Making this change involves editing /etc/fstab once again. As root, type:
nano -w /etc/fstab
And again, we are going to look for the following line that we modified before:
LABEL=/ / ext3 defaults,noatime,nodiratime 1 1
The change is as simple as changing "ext3" to "ext2" so it looks like this:
LABEL=/ / ext2 defaults,noatime,nodiratime 1 1
Exit and save the file and reboot. The root partition will be mounted as a non-journaling file system after power up.
System Logging
One last source of writes to the drive are the system logs. Logging is handy for debugging and security purposes, but if the system is on an internal firewalled network and operating smoothly, then logging is of minimal help. In Linux, "syslog" is responsible for all of the logging activities. To shut this service down, as root run:
/etc/init.d/syslog stop
To make this change survive a reboot, run:
setup
Scroll down to "System services" and press <enter>. This shows a list of the system services that are available to automatically start upon boot up. If there is an asterisk next to the service, then it is enabled at power up. Scroll down to "syslog" and press <space> to disable it. Press <tab> to cycle over to the "Ok" button and press <enter> to return to the previous menu. Tab over to "Quit" to exit the program.
Conclusion
Conclusion
While this solution isn’t for everyone, it is a viable option for anyone who wants a quiet system but won’t be doing a lot of disk writes. Performance is reasonable too if you opt for the higher speed compact flash cards that can run one of the DMA modes. A simple read speed test is to run:
hdparm -t /dev/sda
My dual core AMD 4200+ CPU mated to a 6150 chipset motherboard is able to read 45.19 MB/sec from the 4GB 266x Transcend compact flash card. While this isn’t as fast as a standard SATA drive, it is fast enough for most applications.
As with all of our guides, if you have questions or comments, please comment in our forums by clicking the "Comments" link below.
