An Introduction to Installing Ubuntu and Mythtv

 For those of you that want to get your feet wet with Linux but don’t know where to start, this guide is for you. Today I will be discussing the steps you need to go through in order to install Ubuntu Linux, based on version 8.04.1 desktop 386. This guide will cover the steps performed to install Ubuntu, load the AMD/ATI closed souce graphics driver, get sound running, and install the Mythtv frontend. This guide will not cover configuring the backend portion of Mythtv at this time. So let’s get started.
As always, if you have a comment or suggestion, please stop by the forums.
Getting and installing Ubuntu
Installing Ubuntu
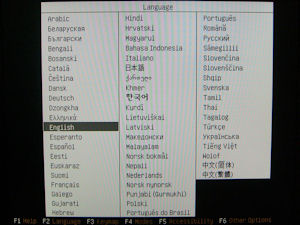
The first this that you will need to do is acquire the installation media for Ubuntu. You can either download it from Ubuntu or request installation media from their website and they will send it to you. Once you have your media, place it in the optical drive and boot off of it. When you first boot up you will be prompted to choose a language. Once you have chosen a language, you will be asked whether you want to "Try Ubuntu without any change to your computer" which means booting from the LiveCD, "Install Ubuntu", "Check CD for defects", "Test memory" or "Boot from first hard disk". We will select "Install Ubuntu".
 |
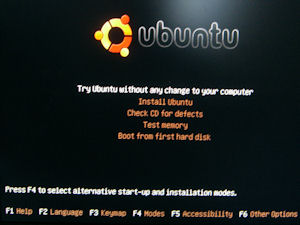 |
| Language Selection | Ubuntu boot menu |
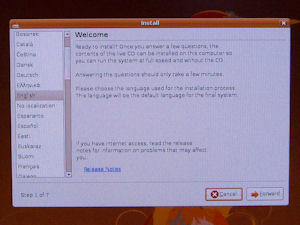
Step 1: Once the temporary setup files have been copied onto your system, you will be displayed a welcome screen, again asking you what language you want to install.
Step 2: Select your location (time zone). If you hold the mouse cursor over the general area that you wish to select, the map will zoom in closer making the selection easier.
 |
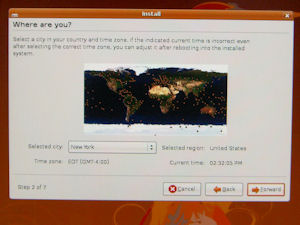 |
| Welcome Screen | Time Zone |
Step 3: Choose a keyboard layout. Once you choose a layout, there is a box at the bottom of the window which will allow you to test out the keys to verify that they are all recognized properly.
Step 4: Partition your hard drive. In this next step, you will be given three choices: Guided – resize <disk, partition> and use freed space, Guided – use entire disk, or Manual. We will be choosing manual. Manual partitioning allows you to define your own partition types and sizes. This is probably the step that scares away the most users because partitioning a disk means that it will destroy all of the information that may have existed on that section of your hard drive. In this installation guide we will be keeping things simple. We will be creating three partitions: the /boot partition which holds the kernels and boot configuration for your system, the swap partition which the OS uses for reading and writing data much like the Windows page file, and the /partition which is your main directory, similar to a Windows C: drive. A basic partition table is as follows:
- /boot = 100MB
- swap = <size of your RAM>, ie 2048MB
- / = everything left over
You will note that in the images below, I also show a NTFS partition because the drive that I am using also has a Windows installation loaded for dual booting. Setting up a dual boot system is outside the scope of this guide, but my two comments are: 1) Install Windows first because Windows will write over you existing boot manager so you won’t be able to get to your pre-existing linux installation, and 2) if you want to have two operating systems on the same hard drive, don’t allocate the whole thing to the Windows installation. Leave some space unpartitioned.
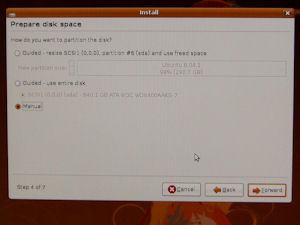 |
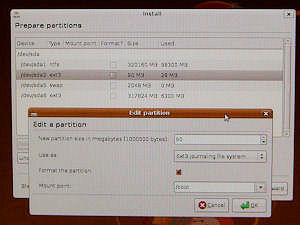 |
| Manual Partitioning | More Partitioning |
Step 5: User information. In this step you will be asked a couple of questions so that Ubuntu can create a user for you to use. You will be asked to supply your name, a name to use for logging in, a passwords (entered twice to make sure that it was entered properly) and the name of your computer, which will be used to identify it on the network. Certain names are reserved and cannot be used for login names, such as root or mythtv.
Step 6: Migration. If you are upgrading from a previous Ubuntu installation, you will be given the option of migrating your previous documents and settings to your new installation. If this is a clean installation then you will be notified that "There were no users or operating systems suitable for importing from." If you would like to migrate a previous setup to you new installation, select it at this time.
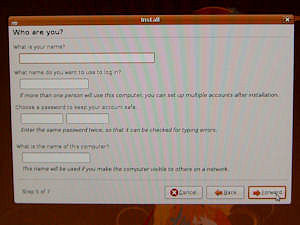 |
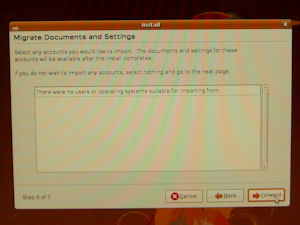 |
| User creation | Migration |
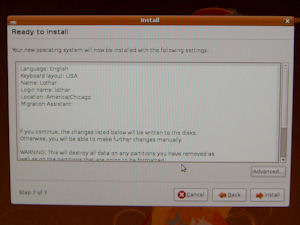
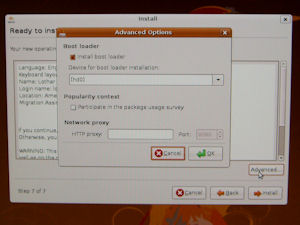
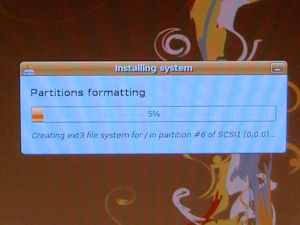
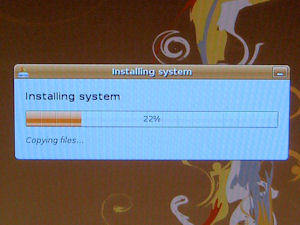
Step 7: Confirmation. Finally you will be displayed a screen indicating all of the settings that you have selected to use for installation. Read through this information to verify that everything is correct. You will also notice near the bottom right of the window a button labeled "Advanced". This window allows you to select where to install the boot loader (the default is usually best), asks you if you want to participate in the package usage survey, and allows you to setup a network proxy if necessary. Click OK when done. If everything looks good, click on "Install" to install Ubuntu. If not, click the "Back" button to make the necessary changes. As installation proceeds, you will be shown a progress bar indicating how much is left to do.
 |
 |
| Confirmation | Advanced |
 |
 |
| Progress bar | More Progress |
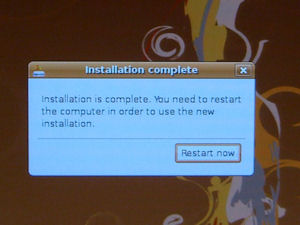
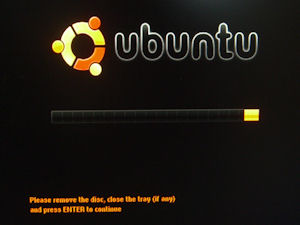
Once installation has completed, you will be asked to reboot your computer. Click on the "Restart Now" button to continue. After a couple of seconds your CD will be automatically ejected and you will be prompted to press "ENTER" to complete the process.
 |
 |
| Install complete | Press ENTER |
Configuration
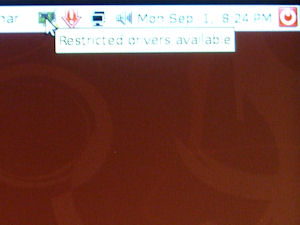
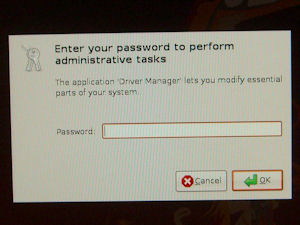
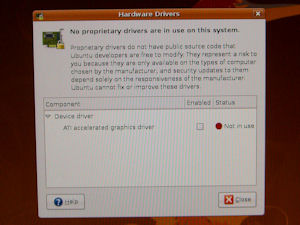
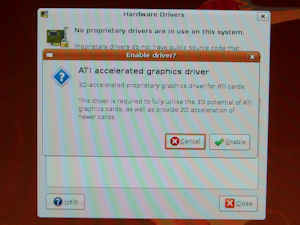
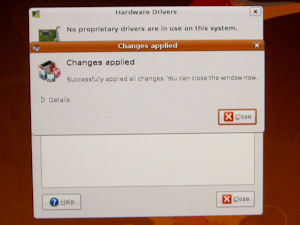
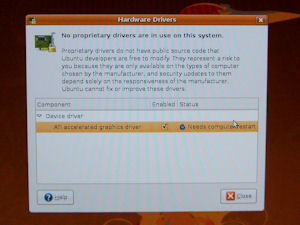
Now that you have completed the installation of Ubuntu and have rebooted your system, you will be asked to enter the username and password that were created in step 5. After sitting at the desktop for a few seconds, if you are connected to the internet, you will see that "Software Updates Are Available" (the red arrow with the ! at the top right of the screen). Next to that icon is a picture of an expansion card indicating "Restricted drivers available". Clicking on the icon, you will be prompted for the password that you created in step 5. After you enter the password, you will be shown a list of restricted drivers available for the hardware in your system. In my case, it is the driver for the onboard 780G ATI graphics. After you click the enable button, you will be displayed a progress bar showing the download progress of the driver. Once the driver has been downloaded and installed you get a window saying that the driver was applied successfully. In this case, the driver requires a system restart.
 |
 |
| Restricted driver bubble | Administrator password |
 |
 |
| Driver list | Driver enable |
 |
 |
| Changes applied | Reboot required |
The other thing that you may need to do is enable the s/pdif output of your motherboard. To do this, select Applications -> Accessories -> Terminal. At the command line, run the command
alsamixer
This will bring up a mixer for your sound device. To enable the s/pdif output, hit the right arrow until IEC958 is highlighted. Once it is highlighted, press the ‘M’ key to enable it. That should be all that is necessary.
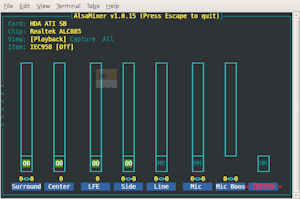 |
| alsamixer |
Mythtv
The next step in our setup process is downloading and installing Mythtv. Keep in mind that at this point we will only be covering installing the frontend. We may develop a more comprehensive Mythtv installation guide later. To install the frontend, run the command:
sudo aptitude install ubuntu-mythtv-frontend
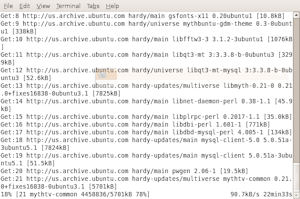
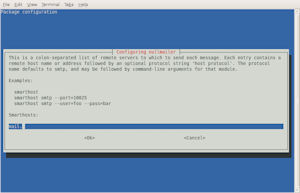
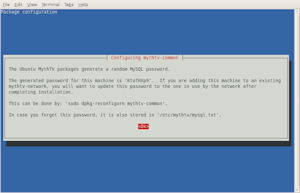
You will be asked to enter the password for your user. To start out with, you will be given the list of packages that will be installed. Press ‘y’ and ‘ENTER’ to continue. During the installation process you will be prompted for a mailname (where to send error messages). It will auto-generate a password for your MySQL database (you will be able to correct this later if necessary).
 |
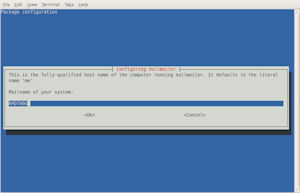 |
| package list | mailname 1 |
 |
 |
| mailname 2 | mysql |
Once Mythtv has been downloaded and installed, verify that the permissions are correct by running:
ls -ld ~mythtv
As a response, you should see:
drwxr-xr-x 8 mythtv mythtv 4096 2007-07-31 22:00 /home/mythtv
Now that you have everything ready to go, run the following command or select Applications->Sound & Video ->MythTV Frontend to launch the Mythtv Frontend:
mythfrontend
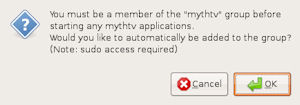
When you launch the frontend for the first time, you will receive a popup window saying that you must be a member of the "mythtv" group before you can run Mythtv. To have this done for you automatically, hit ok. After entering your password, you will be added to the group. You must log off and log back on for the changes to take effect.
 |
| Mythtv Group |
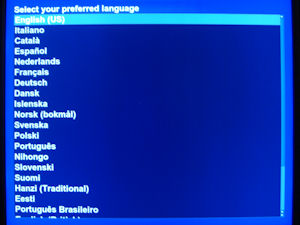
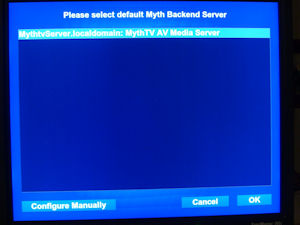
The first time that you launch the Mythtv frontend, you will be prompted for a few configuration options. First you will need to select a language. Second, you will need to select your backend server. For this, you can either select the option provided or you can select the "Configure Manually" button, which we will do now.
 |
 |
| Language Selection | Backend Selection |
 |
 |
| Configure Manually | Configuration 2 |
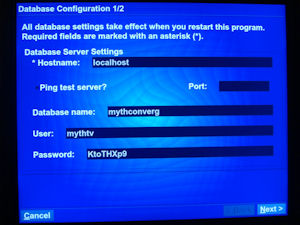
On the manual configuration screen, you are prompted for a number of items. First is the Hostname. This can either be the text name of your server (ie localhost if it’s on the same system) or an IP address like 127.0.0.1. The default database name and user are provided for you. If you selected something else while installing the backend (not covered in this guide) then you should correct this information here. Finally, you will see the MySQL password that you were prompted for during Mythtv installation. More than likely, your database password will be something else and you should correct it now. When you have verified all of this information, press Next.
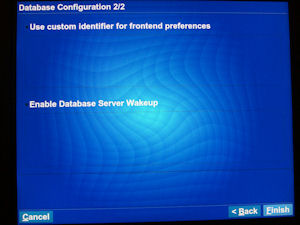
If you would like to use a custom identifier for this frontend (mainly useful if you change the name of your system often) then check the box. Also, if you would like to be able to wake up your MySQL system from the frontend (handy if you allow your database server to go to sleep to save power), then check that box. Select Finish once you have made all of your choices.
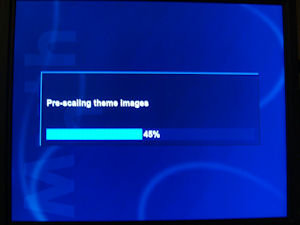
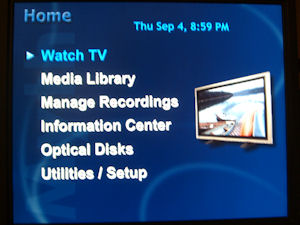
Once your configuration has completed, you will see a progress bar indicating that the theme images are being scaled to your desktop resolution. It generally takes a bit longer the first time and then runs faster on subsequent Mythtv launches. Yes, it’s done each time. After the scaling finishes, you will see the Mythtv main menu. Congratulations, you’re done. From here, it’s primarily customizing your preferences under Utilities/Setup at the bottom of the menu and then watching/recording TV.
 |
 |
| Scaling images | Main Menu |
We will leave customization up to the user. If you would like assistance, please drop us a question in the forums. Congratulations. You have now build Mythtv. Enjoy!
