Installing Mythdora 10.21

|
Mythdora 10.21 Installation Guide It’s not scary, it’s easy. |
There seems to be a misconception among HTPC users that Mythtv is scary to use because you need to run Linux and Mythtv needs a little configuration in many cases to get what you want out of it. Well, hopefully this guide will illustrate exactly how easy it is to get Mythtv onto a system. In addition, a follow-on guide will go through all of the configuration steps once Mythtv is loaded and another will show exactly how powerful Mythtv is because of its configurability. This guide is not intended to be comprehensive should be enough to get just about anyone started. Nearly every screen that you will run into should be illustrated here so there should be nothing that you haven’t already seen when you go through the installation process yourself.
Read on to see exactly how easy it can be to put Mythtv to work for you.
Getting Started
Starting the installation process is very simple. The first thing that you need to do is go to the Mythtdora website and download the install media. If you have a slow connection or just want official media, you can also spend a couple of bucks and they will send it to you on DVD.
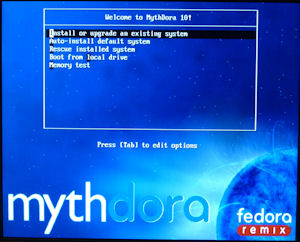 |
| Mythdora boot menu |
Once that has been done, insert the installation media and
boot from it. To start a new
installation select Install or upgrade an existing system. Alternatively, you can also select Auo-Install
default system which will create a Mythdora installation using all of the
default options. In many cases, this is
all that you need. Feel free to examine
the rest of this guide, and if you find that you do not need to adjust any of
the settings then this will give you a quick installation with no user
interaction necessary. Mythdora includes
Memtest as a boot option, allowing you to test your system memory prior to
installation.
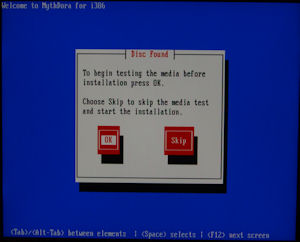 |
| Media test |
Once the installer has started, the first thing that you
will be asked is if you want to have your installation media tested. If this is the first time that you have used
this media then it might not be a bad idea to test just to make sure it’s
good. It does take a few minutes to
complete but there is nothing more frustrating than spending a good deal of
time getting everything configured just the way that you want only to have the
installation bomb out at 90% due to a corrupted file on the disk. The same is also true if you have used the
media a lot and it has developed numerous scratches and nicks.
Setup Choices and Partitioning
 |
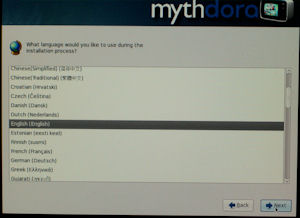 |
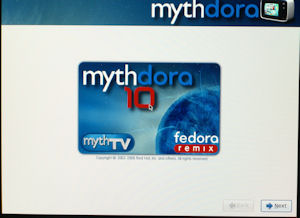
| Mythdora welcome screen | Choose your language |
 |
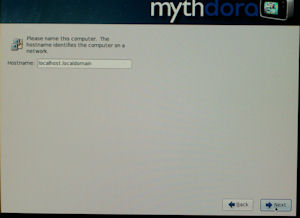 |
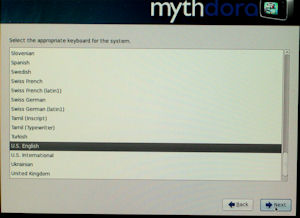
| Choose your keyboard layout | Pick a host and domain name |
Once you get into the main installation portion, the first
screen you see is the Mythdora welcoming screen, followed by a language
selection screen and keyboard layout screen.
This is followed up with a screen asking you to choose a host and domain
name. The host name can be left as
localhost if this is the only system on that domain but it is generally a good
idea to choose a unique name for your system.
If you belong to a domain then enter that in place of localdomain. If not then you can use the default domain.
 |
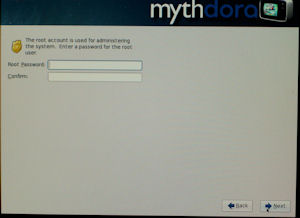 |
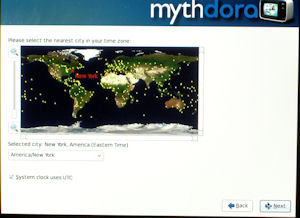
| Select your timezone | Create a root password |
In the next steps you must select your time zone and choose a root password. To select your time zone you can either move your mouse to the correct location on the map or select the closest major city from the dropdown menu.
When choosing a root password make sure that it is something that you will remember because you will likely need to switch to the root (administrator/super user) user to utilize the super user privileges.
 |
 |
| Linux partition screen | Partition layout |
 |
 |
| Confirm partitioning | Set boot loader |
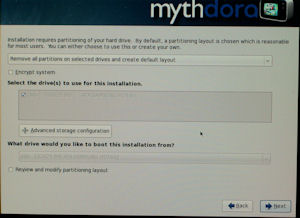
This is the step that I think scares the most people away from Linux: Partitioning. Well guess what? It’s not that bad! For most users the default setup is all you need. One thing to say about this though, if you are not starting with a new drive, I.E. if you have already installed Windows on it or something, change the first dropdown option to Remove all partitions on selected drives and create default layout. By default you can only delete other Linux partitions so if you want to use a drive with a Windows partition on it you will need to change to this option.
Another thing to watch here is which drive(s) you are using for this installation. If you have multiple drives in your system and you have any data that you want to protect make sure that you deselect that drive in the section labeled Select the drive(s) to use for this installation. This causes the installer to only use the drives that you want for installation.
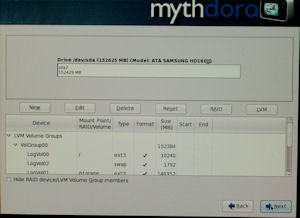
If desired, you can check the box labeled Review and modify partitioning layout. When you click next, that will bring up the second screen above. Here you can see exactly how your hard drive space will be used. The /boot partition contains the GRUB boot loader as well as the kernel and init scripts that you will be loading at boot time. The /swap partition is swap space, similar to a Windows pagefile. Next is the / partition which is the equivalent to a Windows C: drive. This is your root directory that everything else is relative to. Finally, Mythdora also creates a /storage directory which is intended to hold all of your Mythtv media. This is where the bulk of your hard drive space is put.
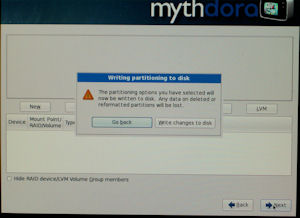
Once you are satisfied with the partition layout click next and confirm the changes. This is your last chance to back out before the new partition information is written to your hard drive.
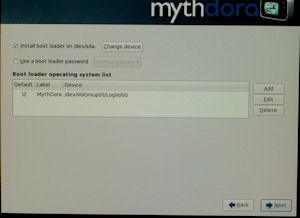
Finally, you can select where to install your GRUB boot loader. If you have only one hard drive installed you can ignore this part. The boot loader will install onto your hard drive. However, if you have multiple drives installed, it is generally a good idea to make sure that the boot loader is loaded onto the same drive that contains your /boot partition.
Package Selection and Installation
 |
 |
| Base packages and Repo config | |
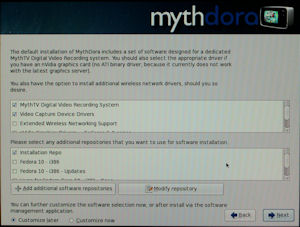
Once the drive has been formatted to your liking the next step is to select the packages that you wish to install. First you are given major categories to include specific packages that are installed by default. If you would like to customize what is being installed you can click the Customize Now radio button at the bottom. Additionally, if this system is attached to the internet you can also add additional repositories. The advantage of using the additional repositories is that you get the most up-to-date packages installed if any changes have been made since the distribution was released. The disadvantage is that you need to download the updated packages so the installation takes much longer. If you can set it up to run overnight or something this isn’t a bad option.
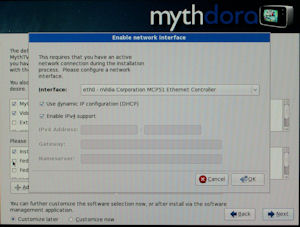
If you decide to use the extra repositories a window will popup to help configure your network interface. By default it will be configured to use DHCP, however due to the end nature of the system, it is a good idea to use a static IP address. The reason for this is that it is hard to connect to a system to watch a recording if the address changes every time it is powered on. If it is a static address you can always find it in the same spot.
 |
 |
| Mythdora packages | |
 |
 |
| More Mythdora packages | |
 |
 |
| Lots of Mythdora packages | |
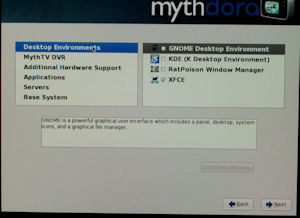
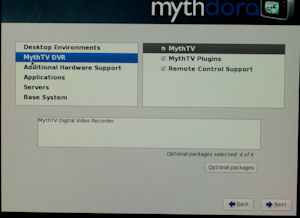
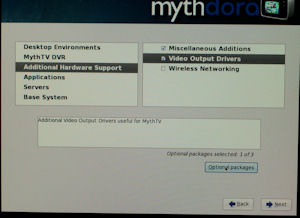
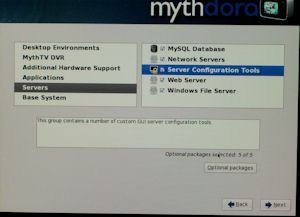
If you choose to customize the packages you will see the screen shown above. On the left side of the screen there is a list of all the major categories of packages that need to be selected. These include the Desktop Environment, MythTV related, Hardware Support, Applications, Servers and Base System.
By default Mythdora uses XFCE as the Desktop Environment. Alternatives include Gnome and KDE. Once the Desktop Environment has been chosen next up is the Mythtv related packages. By default all packages are selected. For a first time user it is a good idea to leave the defaults selected.
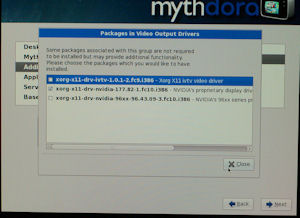
If you are using an Nvidia chipset, under Additional Hardware Support highlight Video Output Drivers, click on the Optional packages button and check the box called xorg-x11-drv-nvidia-177.82-1.fc10.i386 (if you have opted to use the additional repositories you may see a different version here). Mythtv uses MySQL as the database for its system so make sure that the MySQL Database box is checked under Servers. In most cases nothing needs to be modified under Base System.
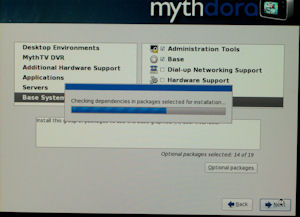
Once you have confirmed what you want installed, click the Next button. The installer will make sure that all of the dependent packages are installed for the packages that were selected. Once that is done the actual installation is started.
 |
 |
| Installation progress | Time to reboot |
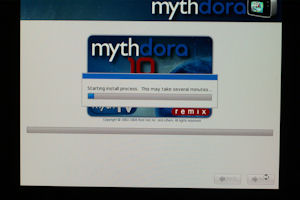
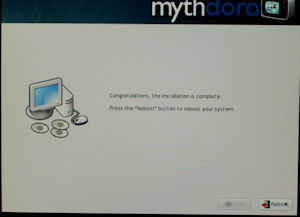
The installation process will usually take around an hour to complete depending on which packages you have selected. If you opted to use any repositories for your installation, that may cause the process to take longer because the packages need to be downloaded as well as installed. The benefit to doing it that way is that your system will be up-to-date right from the start. Once the installation has completed it’s time to reboot the system and complete the last few steps.
Final OS Steps and Mythtv Choices
 |
 |
| Welcome screen | License info |
 |
 |
| Date/Time setup | Hardware profile |
|
|
| Hardware profile confirmation | |
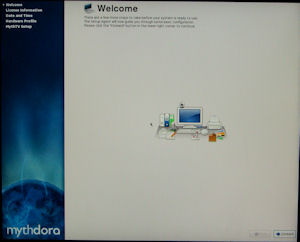
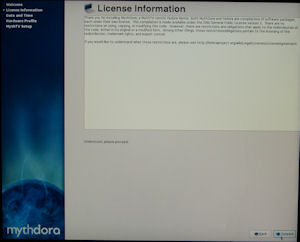
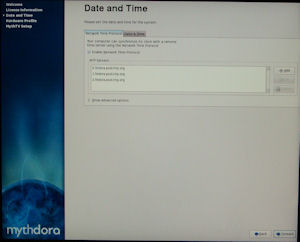
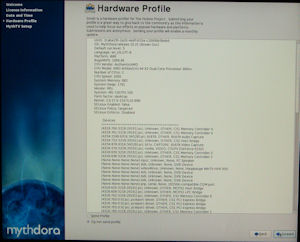
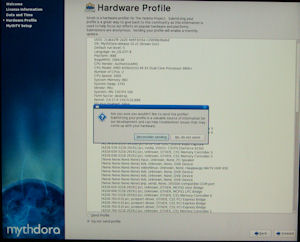
The first screen that you see after Mythdora has booted for the first time is a welcome screen. After that you will see a screen showing license information that you are agreeing to when you click “Forward”. Next up is Date and Time configuration. If this box is connected to the internet, the easiest way to get your time set right is to use the NTP (Network Time Protocol) servers available to you. Done this way, an external server will make sure that your date and time are always correct so that you do not miss the start of any important shows. If you do not have network access there is a Date & Time tab that can be used to manually set the information. Once that has been configured you have the option to anonymously send your hardware information to the Fedora Project so that they can know what hardware people are using and what needs to be supported. If you opt out you will see a popup window asking you to reconsider.
 |
 |
| Mythtv Setup | |
 |
 |
| Mythtv configuration | |
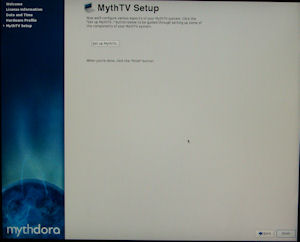
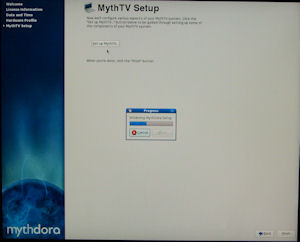
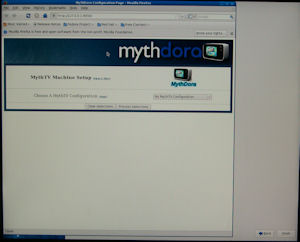
This last step is where all of the Mythtv specific fun starts. Mythdora uses a web interface for the configuration setup.
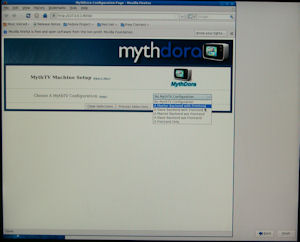
The first choice that you need to make is what type of configuration this box will be. Your options are A Master Backend with Frontend, A Slave Backend with Frontend, A Master Backend w/o Frontend, A Slave Backend w/o Frontend, or A Frontend Only.
Now seems like a good time to describe how Mythtv is arranged. Mythtv works in a client/server configuration. The server is called a Backend and the client is called a Frontend. The Backend contains your TV tuners, the large hard drives to record onto, and usually the database. The Frontend is your playback system. Mythtv is setup so that you can have both types of configurations on one system or you can share out the roles between multiple systems. Mythtv also allows multiple Backends to talk to each other as well as to all of the Frontends. Mythtv requires you to have at least one Master Backend. The difference between a Master Backend and a Slave Backend is that the Master Backend usually also contains the MySQL database that Mythtv uses as well as controls all of the Slave Backends as far as when various tuners are used for scheduled recordings and live TV.
If you intend to have one system do everything then the correct choice here would be A Master Backend with Frontend. If you already have a Backend setup elsewhere and this system will be used only for playback then the option to select is A Frontend Only.
 |
| Mythtv setup |
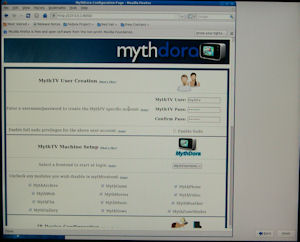
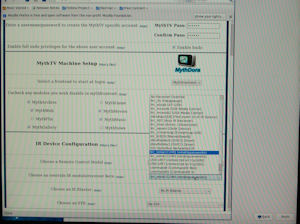
The next step in the process is to choose a username and password for your Mythtv user. The default username and password is mythtv and mythtv. It is a good idea to at least change the password to something else, especially if your box is accessible from the internet. The last thing you want is for someone to hack into it using the default username and password and delete your recordings or schedule random stuff. It might not be likely to happen but it still sucks if it did.
Next you have the option to have Mythtv automatically launched at startup. You can have it either launch the Frontend, MythWelcome or a regular desktop. If this is a dedicated HTPC I would recommend launching the Frontend.
Following this you get to select which modules of Mythtv you want to install. By default all components are checked.
- MythArchive is used for burning your shows to DVD or for ripping DVDs to your system
- Mythweb is the Mythtv web interface
- MythFlix is a Netflix interface
- MythGallery is a picture gallery
- MythGame is a plugin for playing old NES, SNES, etc ROM images using emulators
- MythMovies is a plugin that lists what’s playing at the local movie theaters, including showtimes
- MythMusic is the music interface for Mythtv
- MythNews is a news reader for Mythtv
- MythPhone is an interface to your phone line that can pop up notifications when people call (I believe that this no longer exists in Mythtv 0.22)
- MythVideo is the plugin that is used to play back your recordings and other movies that are available on your system
- MythWeather is a Weather interface for Mythtv displaying your local forcast
- MythZoneMinder is a frontend for ZoneMinder which is a security camera interface
If you’re not sure which parts you will need it certainly won’t hurt anything to leave them all checked. If you know that there are some that you will not be using, like MythPhone in most cases, feel free to uncheck the box to save a bit of space on your hard drive.
 |
| More setup |
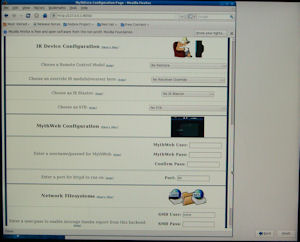
Once you’ve decided which parts of Mythtv to install, the next step is to configure your IR devices, if any. The first step is to choose which remote you are using. There is a dropdown menu with a fairly extensive selection. If your remote is not listed, all is not lost. You can configure it later although that is outside the scope of this document. Once you have selected your remote you can optionally choose an IR module/receiver if you are not using the one that comes with your remote. If you are using an IR blaster and STB there are dropdown menus for selecting those as well.
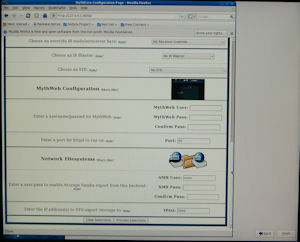
The next section is for choosing a MythWeb username and password if you decided to install the MythWeb plugin. The MythWeb interface defaults to port 80 although you can select a different port if desired.
 |
| Yet more setup |
The last step on this page is configuring the network shares. If you wish to share a directory from your Backend onto a Windows network you will need to enter the username and password of the user that will be accessing the drive. If you wish to share a directory from your Backend with a Linux system then you need to enter the IP address(es) of the systems you want to share with.
 |
 |
| Even more setup | |
 |
|
| Finished | |
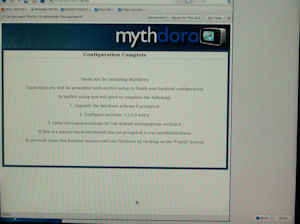
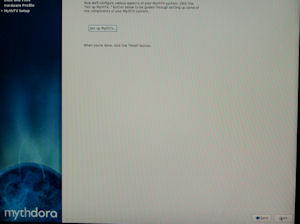
Once the initial configuration steps have been completed Mythdora brings up a screen letting you know that mythtv-setup will be run and how to complete the Backend setup. Click “Finish” to complete the initial configuration and you will be greeted with the Mythtv-Setup screen. From here on in the configuration follows any other Mythtv setup. Those details will be covered shortly in another guide here at MissingRemote.com.
 |
|
Mythtv |
If you have any questions, comments or suggestions please leave them in our discussion thread.
