nMedia HTPCKB Keyboard
|
nMedia HTPCKB Keyboard and Remote Everyone runs into a time eventually when a remote just isn’t enough to control your HTPC, but you don’t want to clutter things up with mouse and keyboard cables. Read on to see if nMediaPC’s most recent innovation will fit your needs. |
INTRODUCTION
nMedia was founded in 2004 with a goal to "create future home entertainment PC systems that are optimal for today’s consumer electronic gear" and to "transform the total home theater experience by intelligently converging digital entertainment AV functions, computer and networking technologies." This vision of convergence of entertainment AV functions closely match the philosophy of an HTPC. They create necessary devices that blend in well with todays lifestyles. Today, they have brought us the nMedia HTPCKB keyboard and remote combination for review.
Specifications And Looks
SPECIFICATIONS
-
2.4GHz wireless Keyboard and Remote Control combo set using one USB receiver dongle
-
360-degree navigation with Scroll Wheel
-
Sleek, elegant and all-in-one design
-
Microsoft Vista Media Center Hotkeys built in Remote Control
-
Notebook keyboard module & enables handheld operation and
 effortless typing
-
10 meters effective operating range (up to 40 feet)
-
Windows 98SE/ME/2000/XP/MCE/Vista compatible
-
MAC OS X (10.2 compatible and later edition)
-
Driverless for easy activation
-
Battery Low Indicator
-
CE & FCC approvals
CONTENTS
-
Keyboard with trackball and mouse
-
MCE Remote Control
-
USB Receiver
-
6 AAA Alkaline Batteries
-
User manual
LOOKS
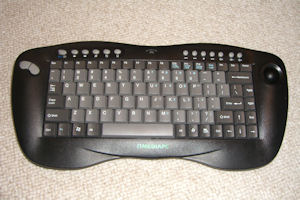
The HTPCKB from nMedia comes in two color schemes. The HTPCKB-S model is the silver version and the HTPCKB-B model is the black version. Today’s sample is the black version. As you can see from the pictures below, the HTPCKB has a very sleek body. I find the color scheme very easy to look at. Both versions would fit in well with any HTPC setup.
 |
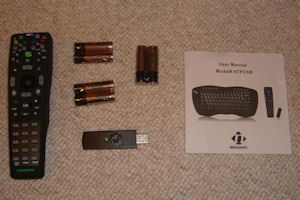 |
| Keyboard | USB Receiver & Manual |
Installation And Drivers
INSTALLATION
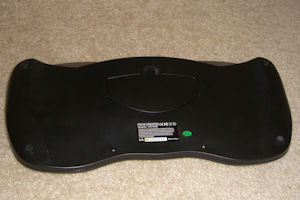
The HTPCKB comes with a 9 page manual that covers all the necessary details of how to setup the keyboard and remote, if it’s not self explanatory. You begin by turning on the computer and then inserting the USB dongle into an available USB port.
 |
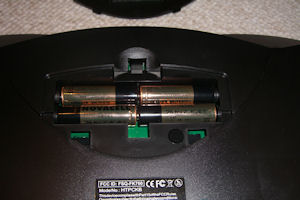 |
| Keyboard Underside | Keyboard battery compartment |
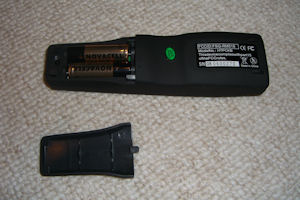
Once the dongle is attached, it’s time to insert the batteries into the keyboard and remote. Next, press the ID button on the dongle. Once pressed, the green LED will start to blink indicating that the dongle is searching for devices. Then, press the Fn+ID buttons on the keyboard, which will cause the LED to go out again (meaning that the device was successfully detected). The 2 devices auto negotiate a channel and ID. For the remote, the process is the same but the ID button is located under the battery cover on the back of the remote.
There is no power switch that you need to turn on with this keyboard, instead it goes into power saving mode after a couple minutes of no activity. However, there is a low battery indicator on both the keyboard and the remote that let you know when it is time to replace the batteries.
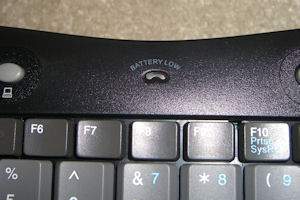 |
| Keyboard low-battery indicator |
DRIVERS
None. It just works. ![]() Please continue on to the next page.
Please continue on to the next page.
Keys And Trackball
KEYBOARD KEYS
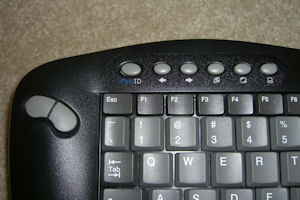
The HTPCKB keyboard includes all of the keys normally found on a QWERTY keyboard, plus a number of additional keys including the Function key found on today’s laptops. Across the upper left of the keyboard are your internet hotkeys and across the upper right you will find your multimedia keys. The main keyboard keys are the short, laptop-style keys. The internet and multimedia keys are oval shaped but are made out of the same hard plastic as the main keys. The primary keys (~ through 0, Q through ], A through ‘ and, Z through / are a medium gray color and the other keys around the perimeter are darker gray. The internet and multimedia keys are a light gray. Combined, they provide a very pleasing look. The key layout itself is fairly standard. The Home, End, Page Up, Page Down, Insert and Delete keys are arranged logically across the right hand side of the keyboard. Everything else is right where I would expect.
 |
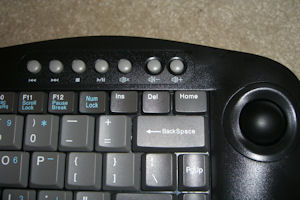 |
| Internet keys | Media keys |
The extra keys I found to be very well laid out. The left and right mouse buttons as well as a scroll wheel/ middle mouse button are located in the upper left corner of the keyboard, with the trackball and an additional mouse button located in the upper right. This provides a very good balance when surfing the web or other mouse heavy activities with the keyboard on your lap. The scroll wheel and additional mouse button are located on the front/top where your trigger finger sits.
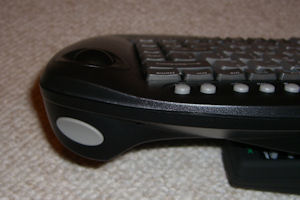 |
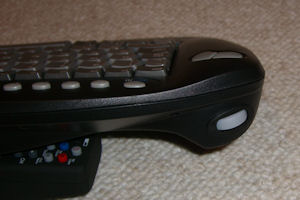 |
|
Left Click trigger finger |
Scroll Wheel trigger finger |
The Internet related keys, located at the upper left of the keyboard, include Back, Forward, Browser, Mail and Explorer, while the multimedia related keys, located at the upper right of the keyboard, include Reverse, Forward, Stop, Play/Pause, Mute, Volume Down, and Volume Up. There is no dedicated number pad, instead it is overlaid onto the main keyboard and accessed via the Fn key, just like on most laptops.
In all of this, no driver is necessary to use any of the extra keys. They are all recognized immediately by the OS.
TRACKBALL
They trackball has a nice feel to it, although there does seem to be quite a lot of friction between the trackball and the rest of the keyboard. Not so much that you are unable to easily move the trackball, but do to its light weight, the ball will stop spinning as soon as you stop applying force. On the other hand, it does spin very smoothly and does not stick, making precision mousing very reasonable.
The ball is tracked optically instead of by rollers so it should not need to be cleaned. If you do need to clean it off however, you will need to remove all of the screws on the backside of the keyboard (including the two under the bottom rubber feet) to do it.
KEYBOARD ERGONOMICS
Like the last nMedia keyboard offering, the HTPCKB uses the body of the keyboard itself to create the correct ergonomic height. The sides of the keyboard are curved and shaped to make holding it with your hands very comfortable. When holding the keyboard in your hands, the right and left mouse buttons slope down, matching the arc of your left thumb. As mentioned earlier, the scroll wheel and additional left-mouse button are located at the tips of your trigger fingers, so there is no need to move your hands around at all while using the trackball features of the keyboard.
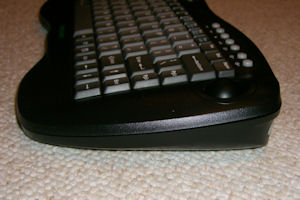 |
| Keyboard side |
The front/bottom of the keyboard is shaped to allow it to rest easily and comfortably against your stomach. When being used at a desk, the keyboard also has four rubber feet, one in each corner, making sure that this keyboard does not slide around.
Remote
REMOTE LOOK AND FEEL
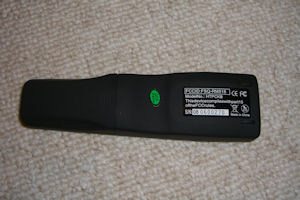
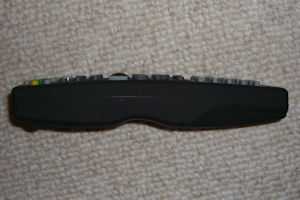
The remote that comes in this combo is nice to work with. While it is not the peanut shape that some of the high end remotes are, it is a very well designed remote. The top surface is rectangular with rounded edges while the bottom has a nice indentation for your finger, making it easy to hold. The back side has a slightly rubbery feel to it making the remote easy to grip. At the top of the remote is a low battery indicator which should be easily visibly when the time comes.
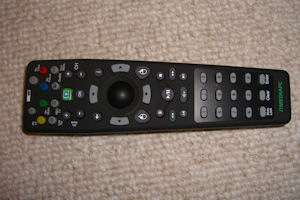 |
 |
|
Remote front |
Remote back |
 |
 |
|
Remote side |
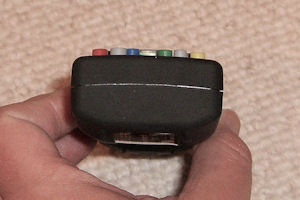
Remote top (no IR LED) |
BUTTONS
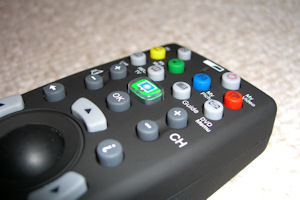
The keys are all the rubbery material often used in remotes, with the exception of the Green Button. The Green Button is actually overlaid in clear hard plastic, and underneath is a small color picture of a TV on a green background. The majority of the keys are regular level circles, but there are a few exceptions. The directional keys around the mouse ball (more details there later) are all sloped towards the center of the remote making key-presses easier. Also, the fast forward and reverse keys are also sloped in making them easy to find in the dark (there is no backlight).
|
Remote MCE button |
Remote battery/ID button |
One nice feature not found on most remote controls is a built-in mouse. There’s a trackball control in the center of the directional keys and right and left mouse click buttons on either side of the down arrow. Sorry, there is no scroll wheel. The mouse ball on the remote wasn’t quite as smooth to roll as the one on the keyboard, but it is still quite usable.
The keys are laid out in my preferred method with the application keys at the top (My TV, My Music, etc), the directional keys in the middle (unfortunately the mouse ball pushed the OK key to above the directional keys. Oh well.), and the number keys to the bottom. The overall layout is very logical and easy to use in my opinion.
PERFORMANCE
The keyboard and remote were tested in several different environments. They performed well through walls and floors at distances up to 50 feet. Since this combo is based on RF technology, line of sight was not an issue. Even at long distances and through objects, the keystrokes and mouse movements were still very responsive. You should not run into complications due to range with this keyboard and remote in most home theater environments.
Internals
INTERNALS
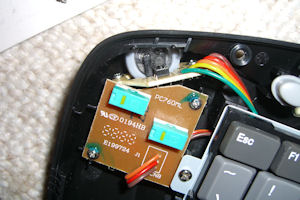
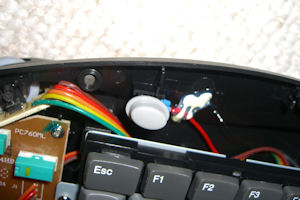
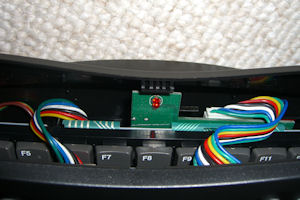
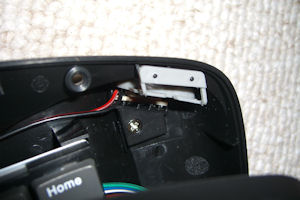
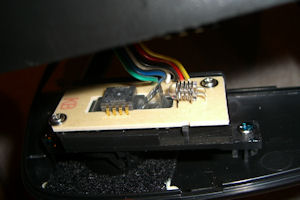
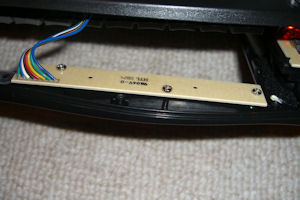
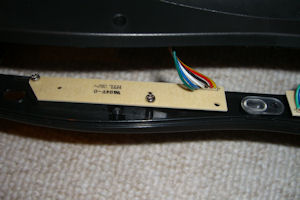
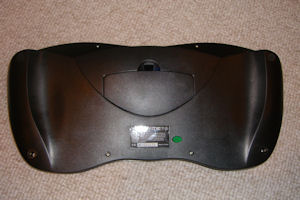
For those that are interested, here are a couple pics of the inside of the keyboard. Who doesn’t like to look at pictures of circuits and wires? Also, there is a pic of the various screw holes, including the two that were covered by the lower feet.
 |
 |
|
Scroll wheel circuit |
Keyboard ID key |
 |
 |
|
Low battery indicator |
Trigger finger mouse button |
 |
 |
|
Trackball circuit |
Media buttons circuit |
 |
 |
|
Internet buttons circuit |
Keyboard screws |
Conclusion
CONCLUSION
I have played with a few wireless keyboards over the years. Some have been geared towards media use and some have just been wireless. This is one of the better ones that I’ve run across yet. It has a lot going for it.
PROS
- Built-in mouse on both keyboard and remote
- RF interface
- Keyboard and remote use same dongle
- Easy to grip body
- Package includes everything you need to get going, including batteries
CONS
- Remote trackball wasn’t as smooth as could be
- Keyboard doesn’t have a close button
- Remote is not Universal (but that’s expected since it’s RF not IR)
- Remote is not backlit
By bundling a remote and keyboard together, nMedia has created a very nice package. The remote works very well for every day use. The MCE buttons function just as you would expect. It’s a tad bulky but very light so it’s easy to use over long periods of time. And when you need more than a remote to do a task, the keyboard is readily available. It’s a little bit smaller than a standard PC keyboard due to the lack of number pad, and since it uses the same USB dongle as the remote, you don’t need to get up and plug anything new in. With the addition to the scroll wheel and another left click button on your trigger fingers, it’s a breeze to use, even while standing up with no work surface. The inclusion of a trackball on both the keyboard and the remote make it very functional. Overall, this is a great product and I would definitely recommend this to anyone looking for a keyboard and remote for their HTPC (or even just for the keyboard if you don’t need a remote).
I would like to thank nMediaPC for the review sample.
As always, please feel free to leave a comment in our forums.

hello there, This is a great
hello there, This is a great reaview. I have a question, what is the size of each circuit board on this keyboard. Thank you and hope to hear from you soon! 😉